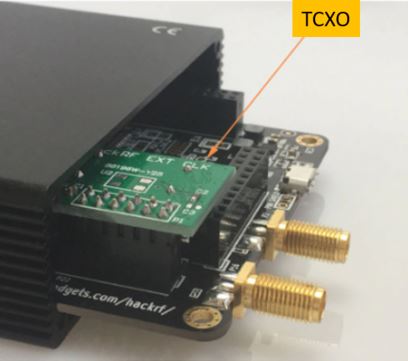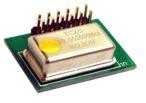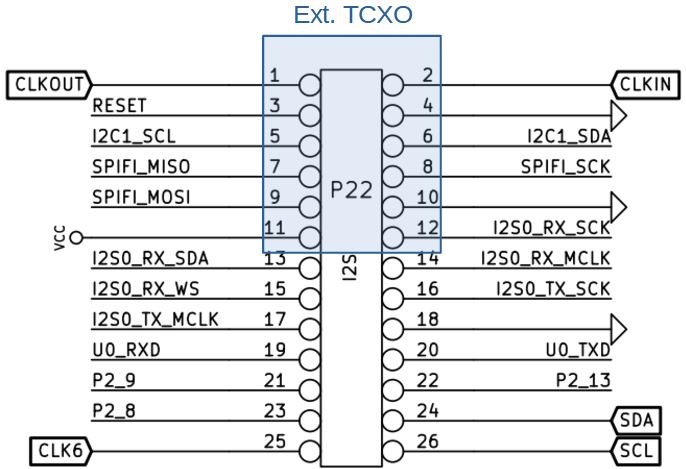

For HackRF mounted in a black metal box, there is a model of TCXO reduced in height to be able to install.

If your HackRF is connected to a Raspberry PI or an Orange PI under Linux and you have installed the hackrf package you can test that the TCXO is taken into account. In a terminal window type:
hackrf_debug -–si5351c -n 0 -rIf the answer is: [0] -> Ox51 no TCXO taken into account
If the answer is: [0] -> Ox01 perfect TCXO taken into account
As a reminder, you can find out more about your hackRF with the command:
hackrf_info
To install the hackrf package under Raspbian or Armbian:
sudo apt-get install hackrf
HackRF external clocks
Instead of using an internal TCXO, you can use an external clock.
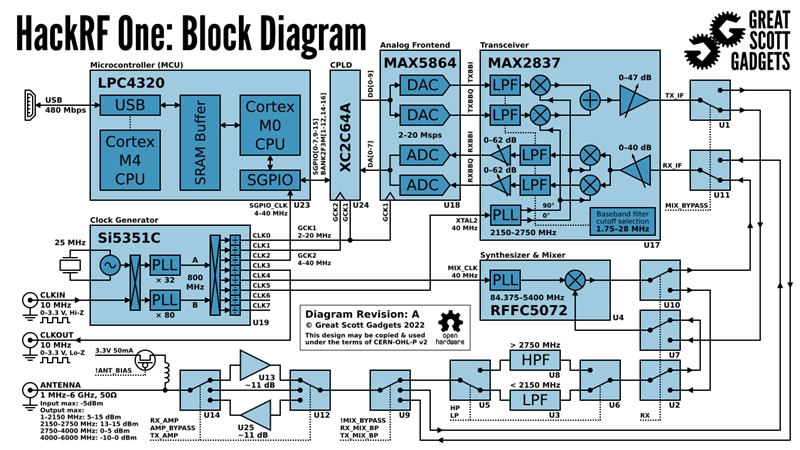
HackRF One produces a 10 MHz clock signal on CLKOUT. The signal is a 10 MHz square wave from 0 V to 3 V intended for a high impedance load.
The CLKIN port on HackRF One is a high impedance input that expects a 0 V to 3 V square wave at 10 MHz. Do not exceed 3.3 V or drop below 0 V on this input. Do not connect a clock signal at a frequency other than 10 MHz (unless you modify the firmware to support this). You may directly connect the CLKOUT port of one HackRF One to the CLKIN port of another HackRF One.
HackRF One uses CLKIN instead of the internal crystal when a clock signal is detected on CLKIN. The switch to or from CLKIN only happens when a transmit or receive operation begins.
To verify that a signal has been detected on CLKIN, use :
hackrf_debug -–si5351c -n 0 -r The expected output with a clock detected is [ 0] -> 0x01. The expected output with no clock detected is [ 0] -> 0x51.
HackRF One Block Diagram

Hi, I’m using a hackrf but just can’t get it to TX. I did the flag change and tried edge and chrome but no luck. Both lights are green and it receives ok but no TX and the TX light on the hackrf never comes on. Please any Ideas?
Regards Lee.
When you go on the Tools page. Do you have the info when you click on HackRF info?
Me I had sometime issues with the USB cable between the Orange PI and HackRF. Change it by another model.
Regards
André