Application to Raspberry Pi 4
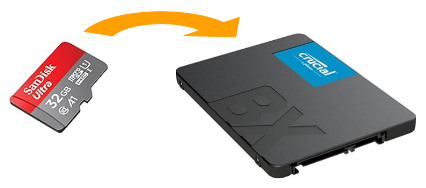
Micro-SD cards are very convenient in size and cost for Raspberry Pi-based systems. In the long term, for high-demand applications, using an SSD offers better reliability, reduced access times and large storage capacity.
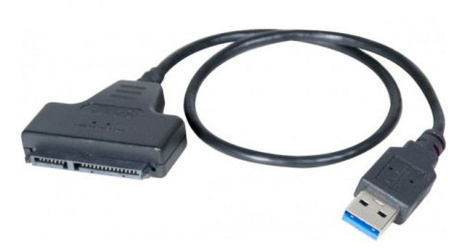
This article describes how to transfer a bootable and running system from a Micro-SD card to a USB-connected SSD via a SATA/USB adapter.
rpi-clone is a shell script that allows you to clone a running Raspberry Pi source disk (SD card ) to a destination disk that will be bootable. Destination disks are SD cards in a USB card reader, USB sticks, or USB hard drives. If you booted from a USB stick, it will be possible to clone the stick to an SD card inserted into the Raspberry Pi’s SD slot.
rpi-clone is available on github and is downloaded by cloning the repository. It is a standalone script and installation is simply a matter of copying the file into a directory.
In a terminal type the command:
git clone https://github.com/billw2/rpi-clone.git
cd rpi-clone
sudo cp rpi-clone rpi-clone-setup /usr/local/sbin
Verify that /usr/local/sbin is in your $PATH by typing the command:
echo $PATHConnect the SSD to the RPI4 on a blue USB3 port. With:
dfou
sudo fdisk -lFind the reference to the new disk: sda or sdb . Be careful this can change.
Stop major services. For example, if you have a web server:
udo service mysql stop
sudo service cron stop
sudo service apache2 stop
Start cloning to the new USB drive ‘sda’:
sudo rpi-clone -f sdaIn return you will have something like this:
Booted disk: mmcblk0 31.3GB                Destination disk: sda 500.1GB
---------------------------------------------------------------------------
Part               Size    FS     Label           Part   Size    FS     Label
1 /boot/firmware   512.0M  fat32  --              1      512.0M  fat32  --
2 root              28.6G  ext4   rootfs          2      465.3G  ext4   --
---------------------------------------------------------------------------
== Initialize: IMAGE partition table - forced by option ==
1 /boot/firmware      (63.5M used)   : MKFS  SYNC to sda1
2 root                (22.3G used)   : RESIZE  MKFS  SYNC to sda2
---------------------------------------------------------------------------
Run setup script       : no.
Verbose mode           : no.
-----------------------:
** WARNING **          : All destination disk sda data will be overwritten!
-----------------------:

Initialize and clone to the destination disk sda?  (yes/no):

Optional destination ext type file system label (16 chars max): Ne rien répondre
The green LED on the Rpi4 will remain lit permanently. This process will take several minutes. Nothing will be displayed on the screen of the terminal that launched rpi-clone. Open a second terminal and type:
df
So you can follow the increase of used volume of the new partition /dev/sda2 and compare it to that of the sd card /dev/mmcblk0p2

At the end of the cloning. Do not press ‘return’ immediately to avoid unmounting the new disk. In the second window press:
sudo fdisk -l
and note the disk identifier of the new disk /dev/sda . Example:
Disk identifier: 0xdb4efeed in our case.
Go to :
cd /mnt/clone
df
to identify the primary partition.
Edit the fstab file on the new disk
sudo nano /mnt/clone/etc/fstab
Ctrl X pour sortir
Check the new PARTUUID db4efeed without the 0x prefix and followed by -01 and -02
Then open the cmdline.txt file
cd /boot/firmware
sudo nano cmdline.txt
check/change PARTUUID as above.
Do not put the 0x prefix and leave the -02 at the end

Ctl-X then Y to save the new configuration
If you forgot to close a window that accesses the new disk, do an unmount yourself:
sudo umount /dev/sda1
sudo umount /dev/sda2
Finish with a stop of the RPI4:
sudo haltTurn off the power and remove the SD card
Reboot and as the sd card is not found, the system will boot on the USB disk.
You can change the boot order in raspi-config/Advanced
A tip: connect a screen to the HDMI output of the rpi4 to monitor its operation
5V Power Supply
With a 5V/3A or 15W power supply for the RPI4 + an SSD, I encountered problems writing to the disk. With a 5V/4A or 20W power supply, no more errors.