Remote SDR V4 – Raspberry Pi 4B or Orange Pi Zero 2 image installation
Remote SDR source code and images available on Github
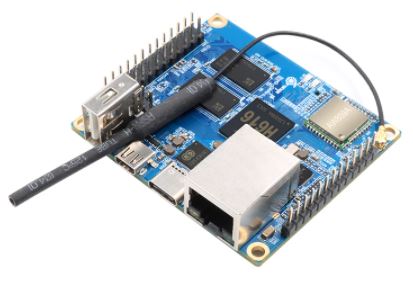
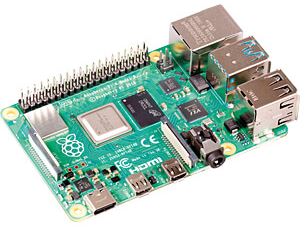
Here is the detailed procedure to install Remote SDR version 4 on a Raspberry Pi 4B with at least 2 GB of memory or an Orange Pi Zero 2 (1GB). The latest images written for an SD card of 16 GB or more are available on Github.
Installing the image
- Download the image corresponding to your card on Github https://github.com/F1ATB/Remote-SDR/releases
- Unzip the image
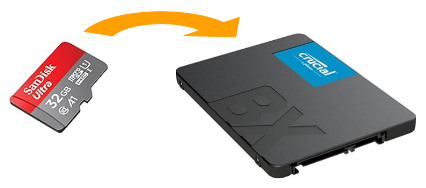
- Burn the image on a minimum 16GB micro SD card with PC software such as Win32diskmanager
- Connect a Pluto or HackRF One SDR and RTL-SDR
- Connect the Raspberry/Orange to the local Ethernet network
- Power on the Raspberry/Orange Pi
- Go to your box to find the IP address that has been assigned to the Raspberry/Orange Pi
- All source codes of Remote SDR are in the directory /var/www/html
Launch of Remote SDR
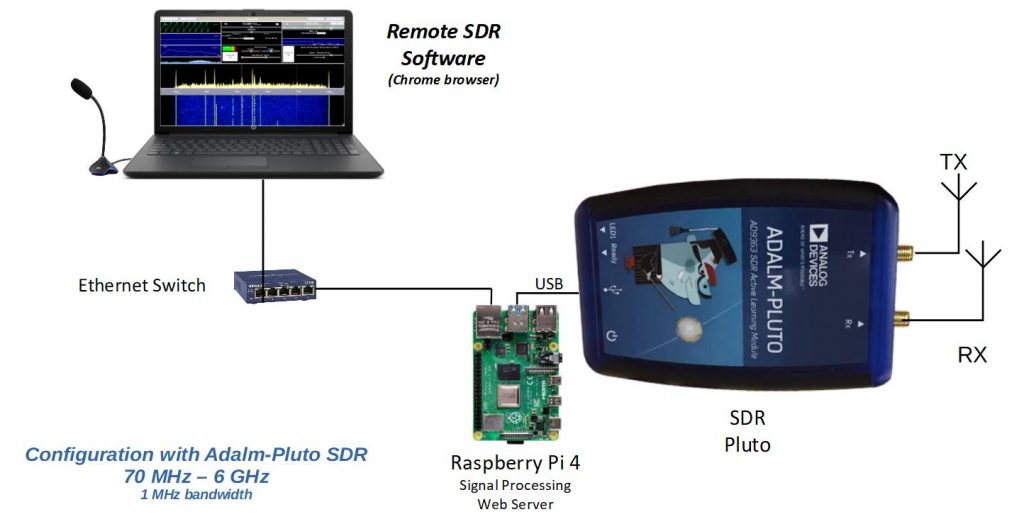
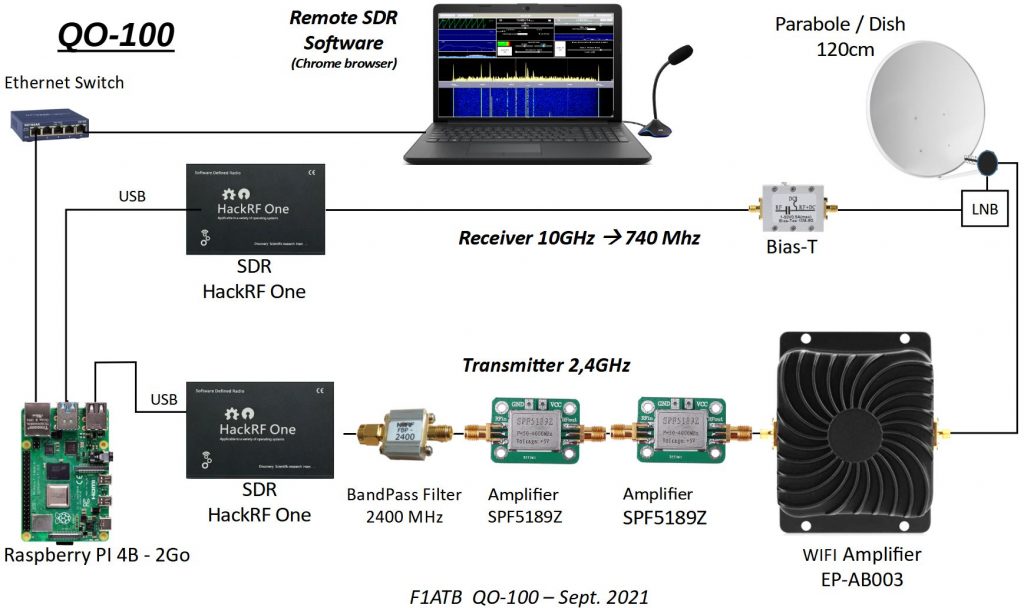
Only one Raspberry PI 4 is necessary with an Adalm-Pluto or a HackRF in transmission and an RTL-SDR in reception.
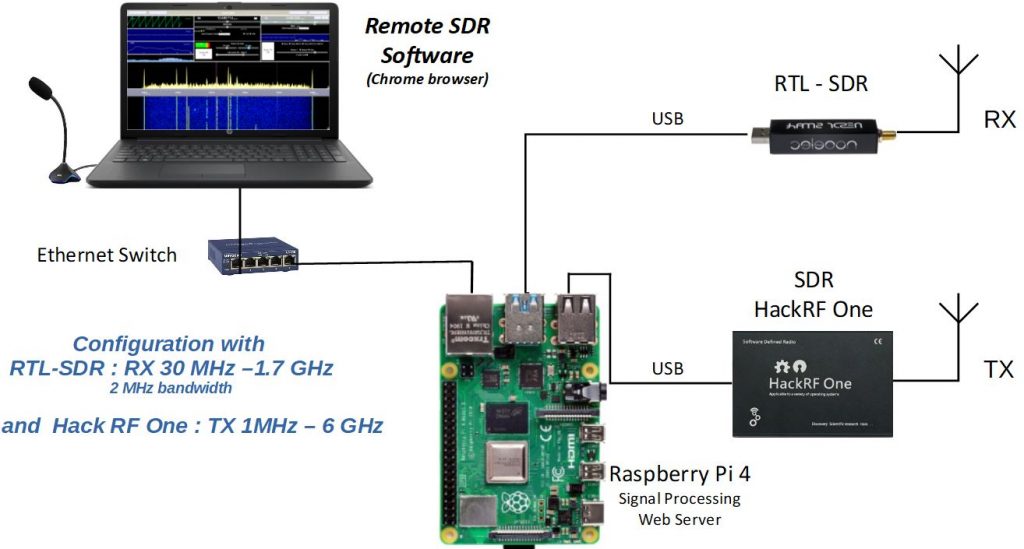
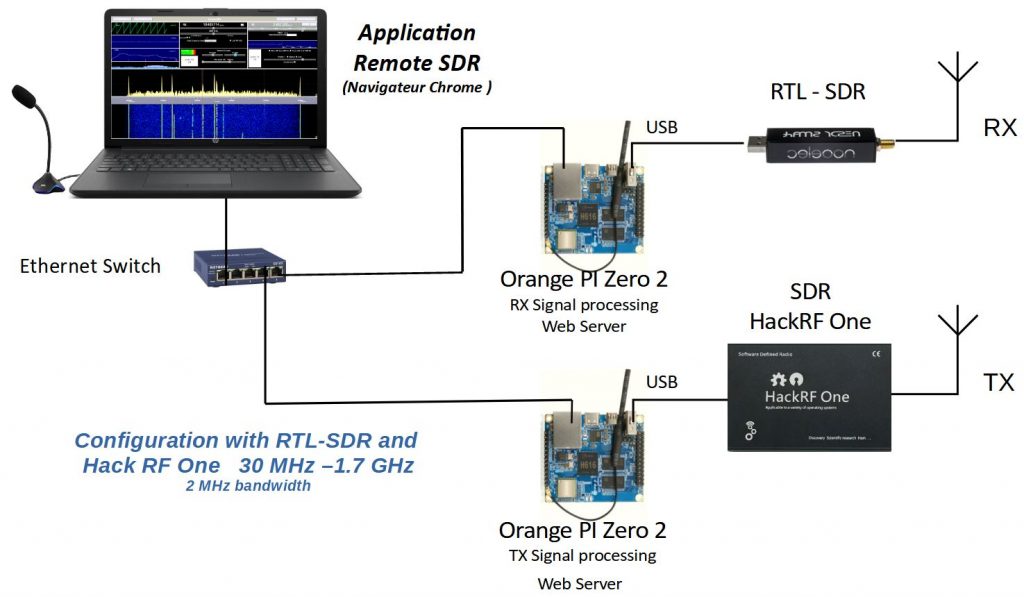
Since Remote SDR version 2.5, two HackRF One can be connected to one Raspberry 4B.
You launch the application on the address:
http://<ip du Rasperry Pi>
Note that the exchanges are done in http on the usual port 80 for the contents of pages. Ports 8001 to 8003 are used to exchange data with the Raspberry Pi of the reception part. Ports 8004 to 8005 are used to exchange data from the transmit part.
With version v3 of Remote SDR, it is possible to interface with Gpredict via port 8006 for the receiver and 8007 for the transmitter.
In the case of a single processor, it processes all the exchanges on ports 8001 to 8007.
Customization of the installation
The image on Github is configured in English language, GB keyboard and GMT time. Access the Raspberry/Orange Pi in ssh (user pi, password: remsdr) and type:
raspi-config or armbian-config
In the ‘Location’ section you can enter your preferences.
You can also access the Raspberry Pi in graphics mode using the VNC extension from chrome or a dedicated application.
user : pi or root for the Orange Pi
password : remsdr
All sources are in the folder /var/www/html .
Quick SDR Test
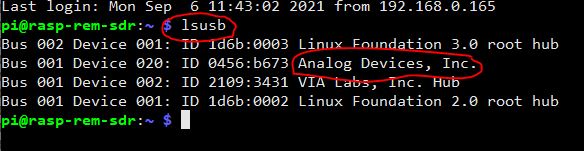
You can do a quick test to verify that the connected SDR (s) are visible to the Raspberry/Orange Pi. In a Terminal window, make a list of Usb(s ) by typing: lsusb
The devices present should appear.
Cooling
If you use your Remote SDR application intensely, consider putting a heat sink on the CPU. The processing load is important: around 60%.
Do not display Remote SDR on a monitor connected to the Raspberry and running in the web browser. If feasible, the processing load will be too great and this will result in audio losses and processor overheating.
Also, I recommend a transmitter security system as described here.


Recent Comments